Every spring, garden centers sell single vegetable plants for the price of a seed packet holding fifty of them — and the markup is honest, because what you are buying is six weeks of warmth, light, and attention. Seed starting is the decision to supply those six weeks yourself: for the cost savings, yes, but mostly for the catalog freedom (a hundred tomato varieties instead of four) and the calendar control that decides whole seasons for warmth-lovers like peppers.
The craft has exactly three pillars — warmth to germinate, light to grow, restraint to keep alive — and most failures trace to muddling them: germinating cold, growing dim, watering with love. This guide runs the full pipeline: the count-back calendar, the short honest equipment list, sowing technique, the damping-off defense, pricking out, and the handover to the garden — plus the direct-sow list that should never see a windowsill at all.
The Calendar: Count Backward, Resist Early
Every packet states weeks-to-transplant; the method is arithmetic: find your last frost date, count back the stated weeks, and sow then — tomatoes commonly 6–8 weeks before, peppers and aubergines 8–12 (the pepper playbook's early start), quick brassicas and lettuce 4–5, cucurbits a strict 3–4 (see the FAQ's transplant-haters). The temptation this system exists to resist is the January itch: seeds sown too early in the dark months become leggy prisoners — oversized, light-starved, root-bound — that establish worse than later, stockier siblings. The windowsill grower's rule of thumb: when in doubt, two weeks later than enthusiasm suggests. A second calendar habit pays all season: sow in two small waves a fortnight apart rather than one big batch — insurance against accidents, and a smoother handover to the garden.
Equipment: Short List, One Splurge
- Containers — anything with drainage holes: cell trays and small pots are convenient; washed yogurt pots, cut-down cartons, and last year's module trays are free. What matters is depth (5+ cm), holes, and cleanliness (a wash matters — the damping-off section explains).
- Seed compost, specifically: fine-textured and deliberately low in nutrients — seeds carry their own lunch, and rich mixes plus salty fertility burn or overwhelm tiny roots. Multipurpose compost sieved of its lumps serves at a pinch; garden soil never (weed seeds, fungi, and texture all vote no).
- Warmth for germination: most seeds want 18–25 °C soil to wake (peppers hotter — their guide holds the details). A heated propagator is the luxury; the top of an appliance, a warm room, or a windowsill above a radiator is the free version. Warmth is for germination — it moves or switches off at emergence.
- Light for growth — the honest splurge: the FAQ's grow-light verdict. If the budget allows one purchase, it is this, not the propagator.
- Labels and a pencil: the equipment everyone skips and regrets by week two, when four trays of identical green cotyledons await names.
- A small fan or airy room, a bottom-watering tray, and a spray bottle complete the kit. Total outlay: modest. Total mystique: none.
Sowing: The Method
- Fill and firm containers with moistened seed compost — damp as a wrung sponge, pressed gently level, never packed hard.
- Depth by the rule: two to three times the seed's own size — big beans a knuckle deep, tomatoes half a centimetre, and the dust-fine (lettuce, snapdragons, most tiny flower seed) surface-sown and merely pressed in, because many small seeds need light to germinate and burial is their commonest cause of "never came up."
- Sow thin: two or three seeds per cell (thinned to the strongest later), pinches not pours in trays — crowding is damping off's welcome mat.
- Label immediately — variety and date, before the tray leaves the bench.
- Water from below: stand containers in a tray of water until the surface darkens, then drain. Overhead watering redistributes fine seed into corners and compacts the surface; bottom-watering becomes the standing habit for the seedling's whole indoor life.
- Cover for humidity — propagator lid, clear bag, or cling film — and off to the warm spot. Check daily.
Germination Days: Warm, Covered, Watched
Under cover in warmth, most vegetables show in 5–14 days (peppers and some perennials test patience longer — the packet's estimate is the contract). The daily check has two jobs: wipe or vent excess condensation (dripping-wet lids breed trouble), and catch emergence promptly — because the moment green appears, the regime flips: cover off, heat off or reduced, and maximum light immediately. A day's delay under a warm dim lid produces the season's leggiest seedlings before their first true leaf. This handover moment is the single most timing-sensitive step in the whole pipeline; the rest forgives.
The Light Phase: Stocky Is the Goal
- Brightness first: the sunniest sill with foil-card reflectors behind, or the LED panel a few centimetres above the leaves (close is the point — light intensity collapses with distance), 14–16 hours on a timer.
- Cool second: after germination, ordinary-to-cool room temperatures (15–20 °C) slow the stretch and build stocky tissue — the warm propagator that started the seeds now works against them.
- Rotate windowsill trays daily (the lean toward glass is legginess in installments), and brush a hand gently over seedlings when passing — the airflow-mimicking touch genuinely strengthens stems.
- Water by weight and look, from below, less than instinct says: surface allowed to dry between waterings, compost never swampy — the restraint pillar, and the damping-off defense in daily form.
- Feed weakly, later: nothing until true leaves, then quarter-to-half-strength liquid feed fortnightly. Seed compost's poverty was deliberate; the feeding takes over as it runs out.
Damping Off: The One Real Enemy
The FAQ carries the full diagnosis and the hard truth (no cure, only containment); the prevention checklist deserves repeating as a block, because it is the difference between a rare accident and an annual tragedy: clean containers, fresh bagged seed compost, thin sowing, bottom watering with dry-ish surfaces, moving air, and prompt uncovering at emergence. Every item costs nothing; together they retire the seed-starter's only serious predator.
Pricking Out and Potting On
- When: at the first true leaves (the second pair — the ones that look like the plant), seedlings from shared trays move to individual cells or pots.
- How: loosen beneath with a pencil or dibber, lift by a leaf, never the stem (a bruised leaf is spare; a crushed stem is fatal), into a pencil-made hole in ordinary potting compost, firmed gently, watered from below.
- Depth trick: tomatoes (and their kin) settle deeper than they grew — the buried stem roots, converting mild legginess into root system.
- Cell-sown seedlings skip pricking out: thin to the strongest per cell (scissors at soil level, not pulling), and pot on to the next size only when roots show at the drainage holes — the pot-bound and the swimming-in-compost both sulk.
The Handover: Hardening Off and Planting
The indoor pipeline ends at the spring playbook's non-negotiable week: hardening off — the graduated outdoor day-trips that turn soft indoor tissue into weatherproof plant — followed by transplanting into prepared ground or containers on a calm, ideally overcast day, watered in well. The whole indoor investment rides on not skipping this week; the FAQ-famous losses at planting-out are almost all hardening-off debts called in.
The Outdoor Shortcut: Winter Sowing in Jugs
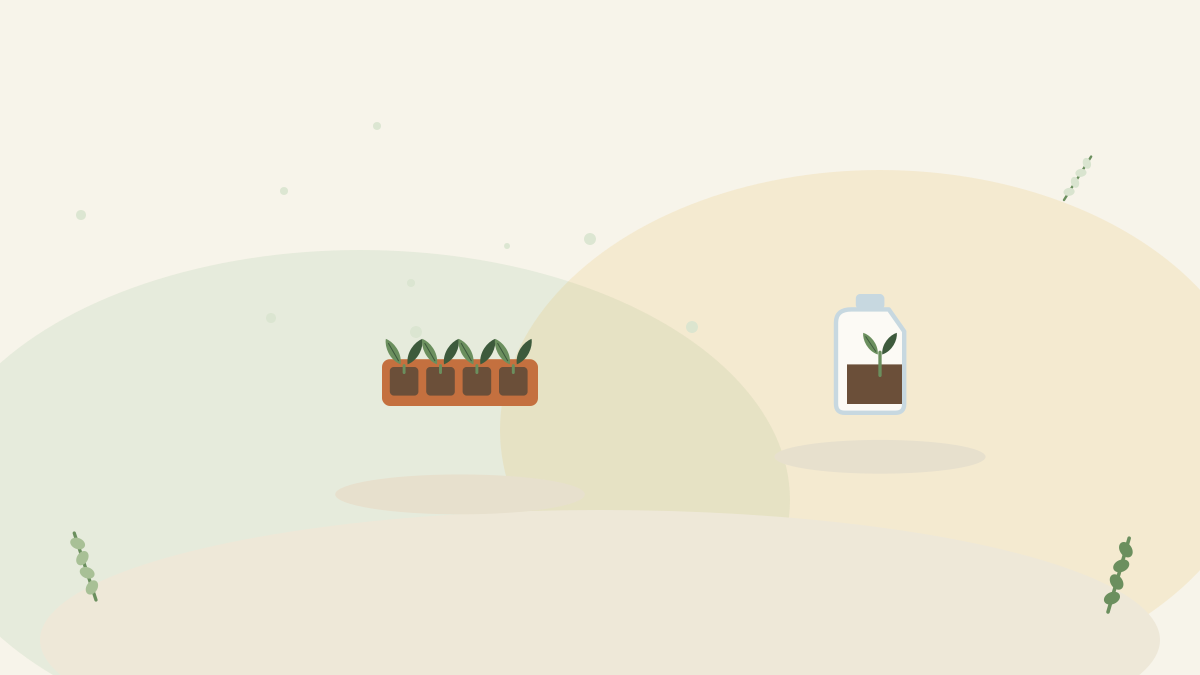
For the hardy end of the list, an entire alternative pipeline skips the windowsill: winter sowing — clear milk jugs or bottles cut nearly in half, drainage holes melted in the base, filled with damp compost, sown with hardy annuals, perennials, brassicas, or cold-tolerant salads, taped shut with the cap off, and stood outside in midwinter like a fleet of tiny greenhouses. The seeds stratify and germinate on nature's schedule, the seedlings grow stocky in real light and real weather (no legginess, no hardening off — they were never soft), and the jugs shrug off snow. It cannot start the tender crowd — tomatoes and peppers still need the indoor pipeline — but for everything hardy it trades all the equipment in this article for recycling-bin plastic and patience. Many gardeners run both systems: jugs for the tough, sills for the tender.
Seed Storage and the Viability Test
Half-used packets are next year's budget if stored right: cool, dark, and dry — folded shut in a lidded jar or box (a silica sachet helps) in a cupboard, never the humid greenhouse or sunny shelf. Longevity varies honestly by species: parsnips and alliums fade within a year or two, lettuce and brassicas hold three to five, tomatoes and beans often longer. When a packet's age raises doubts, the ten-seed test settles it in a week: ten seeds on a damp paper towel in a bag somewhere warm, count the sprouts — eight up means sow normally, five means sow double, one means the packet had a good life. The habit pairs with the records page: date every packet on arrival, and the winter seed order stops rebuying what the jar already holds.
Indoors or Direct? The Honest Split
| Start indoors (earns the sill) | Direct sow (skip the sill) |
|---|---|
| Tomatoes, peppers, aubergines — the long-season warmth-lovers | Carrots, parsnips, radishes — taproots that hate moving |
| Leeks, celery, celeriac — slow starters | Peas and beans — fast, robust, space-hungry indoors |
| Brassicas for transplant precision | Salad rows on the little-and-often rhythm (transplants also fine — the slug strategy decides) |
| Most half-hardy flowers (cosmos, zinnias in modules, snapdragons) | Hardy annual flowers sown where they flower |
| Cucurbits — but strictly 3–4 weeks, individual pots | Cucurbits equally happily, once soil is warm |
Troubleshooting
| Symptom | Likely cause | Fix |
|---|---|---|
| Nothing germinates | Cold compost, buried light-lovers, ancient seed, or drought under the lid | Warmth check, surface-sow the fine, viability-test old packets (damp paper towel, ten seeds, count) |
| Tall, thin, falling | Legginess — the FAQ's light hunger | Closer light, cooler room, later sowing; bury tomato stems at potting on |
| Collapsed stems at soil line | Damping off | Containment and the prevention block; no cure |
| Yellowing older leaves on established seedlings | Seed compost exhausted | Begin the weak feeding, or pot on |
| Mold or green film on compost surface | Constant surface wet, still air | Dry-down discipline, airflow, scratch the surface open |
| Tiny flies around trays | Fungus gnats enjoying wet compost | Same dry-down; yellow sticky cards; bottom watering strictly |
| Purple-tinged, stalled seedlings | Cold feet — compost below comfort | Warmer position; growth resumes with temperature |
The Records Habit
One notebook page per season — sow dates, varieties, emergence days, and a one-line verdict at transplant — converts each year's guesses into next year's calendar. The packet says 6–8 weeks; your page says what your sill, your light, and your spring actually did with it. Three seasons of notes outperform any generic chart, and the winter seed order (drafted, per the pepper playbook, when choice is best) writes itself from the verdicts.
The Bottom Line
Count back from the last frost and sow later than the itch suggests, into clean containers of damp seed compost — depth by seed size, the fine ones surface-pressed, everything labeled and bottom-watered. Germinate warm and covered, then flip the regime the day green shows: uncovered, cooler, and under the closest brightest light you can supply. Keep the surface dry-ish, the air moving, and the watering restrained; prick out by the leaf, feed weakly, and spend the honest week hardening off before the garden takes over. Fifty plants per packet was always the deal — the six weeks of warmth, light, and restraint are simply the price, and they are the most instructive six weeks in gardening.

Comments
No comments yet. Be the first to share your experience.