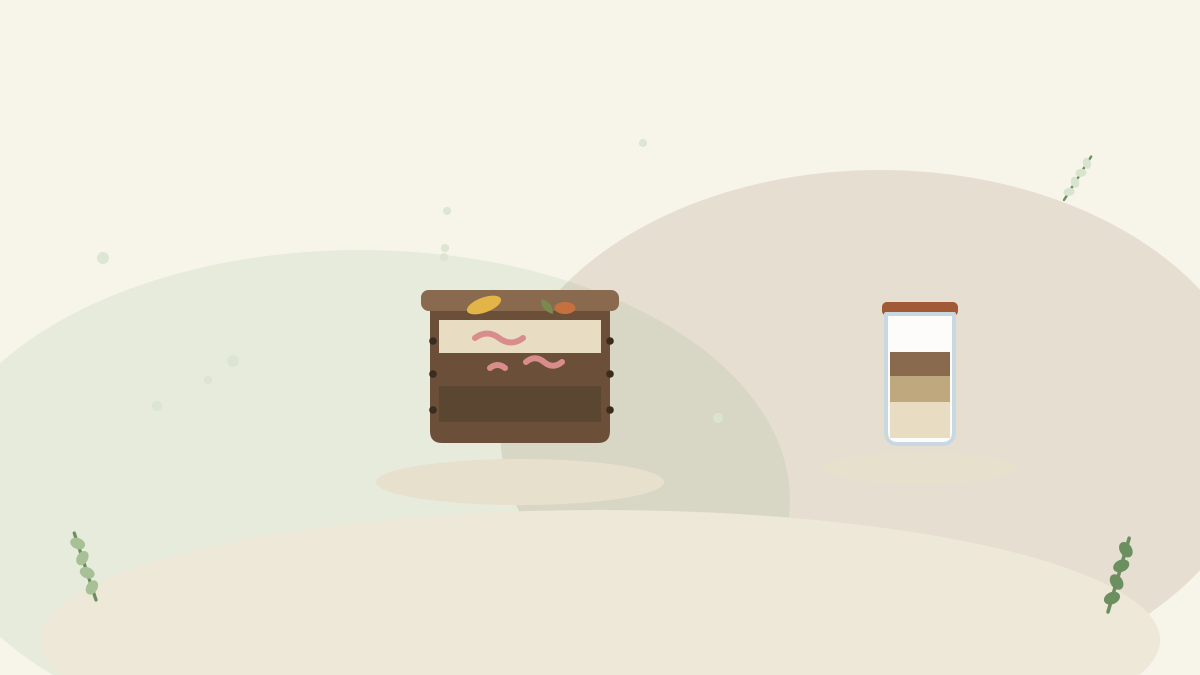
Composting has one obvious catch for anyone without a garden: where do you put the heap? The answer, quietly brilliant, is a box of worms. Worm composting — vermicomposting — shrinks the whole process down to fit under a sink, in a cupboard, or on a balcony, and does it faster and, in one important way, better than a garden heap: the worms turn your kitchen scraps into castings that are among the richest, most concentrated natural plant foods you can make.
It sounds like it should be complicated, or smelly, or squeamish. It's none of those when run properly — a well-kept worm bin is odourless, low-effort, and genuinely fascinating to have around. This guide covers the whole thing: choosing and setting up a bin, the right worms, what to feed them, harvesting the black gold, and troubleshooting the handful of things that go wrong (all of them easily fixed). Whether you have no garden at all or a big one that could use premium plant food, the worm bin earns its corner.
Why Worm Compost Is Worth It
- The output is premium: worm castings are richer and more concentrated than ordinary compost — a little goes a long way as a soil improver, potting-mix booster, and plant feed, and the liquid "worm tea" that drains off is a superb diluted feed.
- It fits anywhere: no garden required — the defining advantage. A worm bin turns a flat-dweller into a composter, closing the kitchen-scrap loop the balcony and container guides otherwise can't.
- It's fast and low-effort: no heap to turn, no bulk to manage — the worms do the work, and a bin ticks over with minutes of attention a week.
- It diverts waste: a meaningful share of household kitchen waste becomes plant food instead of landfill — the sustainable-living dividend in a box.
Setting Up the Bin
- Choose or make a bin: purpose-made stacking worm bins (tray systems) make harvesting easiest, but a simple lidded plastic box with drainage holes in the base and ventilation holes near the top works perfectly for a first bin. Raise it slightly and stand it on a tray to catch the liquid.
- Add bedding: the worms live in moist bedding — shredded cardboard, newspaper, or coir, dampened to the wetness of a wrung-out sponge. Fill the bin loosely; this is the worms' habitat and moisture buffer.
- Introduce the worms: the composting worms from the FAQ (tiger worms / red wigglers), settled onto the bedding. Give them a few days to acclimate before feeding heavily.
- Site it right: somewhere out of temperature extremes — worms dislike freezing and baking alike. A sheltered balcony, a utility room, under the sink, or a shed in mild weather all suit; a stable, moderate temperature keeps them productive.

Feeding: The Golden Rule Is Moderation
The FAQ carries the full feed-and-avoid list; the operating principle is simpler than the list: feed moderately, bury the scraps, and let the worms catch up before adding more.
- Yes: raw vegetable and fruit scraps and peelings, coffee grounds and filters, tea, crushed eggshells, small amounts of bread and grains — chopped smaller for speed.
- No or sparingly: meat, fish, dairy, oily and salty foods (rot and pests), and large amounts of citrus, onion, and garlic (too acidic).
- Bury, don't pile: tuck new scraps under the bedding rather than heaping them on top — it deters flies and speeds processing.
- Watch the pace: add the next lot only as the last is being worked through. Overfeeding is the single biggest cause of smell and pest trouble — a bin that stinks is almost always an overfed one.
A new bin starts slow and speeds up as the worm population grows to match the food supply — resist the urge to overfeed early while numbers are still building.
Harvesting the Black Gold
After a few months, much of the bin turns to dark, crumbly castings — and the FAQ's gentle harvesting methods get them out worm-free:
- The migration method: push finished material to one side, add fresh bedding and food to the other, and let the worms move toward the new food over a couple of weeks — then scoop the finished side.
- The tray method: in stacking bins, worms migrate up into the fresh upper tray, and you simply lift off the finished bottom one — the easiest harvest of all.
- Rescue the stragglers: pick out any big worms that come with the castings and return them; tiny cocoons left behind will happily continue in your pots.
- The liquid bonus: the "worm tea" draining into the tray below is a concentrated liquid feed — dilute it well (to weak-tea colour) and water plants with it.

Using the Results
| Product | How to use it |
|---|---|
| Worm castings | Mix into potting compost (a modest proportion — it's concentrated), top-dress pots and beds, or add to planting holes as a rich soil improver |
| Worm tea (liquid) | Dilute well and use as a liquid feed for containers, houseplants, and vegetables — the balcony and container guides' plants love it |
| As a seed-starting booster | A little mixed into seed-starting mix gives seedlings a gentle nutrient start |
| For houseplants | A top-dressing of castings is a mild, slow-release feed that won't burn like synthetic fertilizer |
Because castings are concentrated and gentle, they're hard to over-apply the way synthetic feeds burn — one reason they suit houseplants and seedlings so well. A small worm bin produces enough to meaningfully feed a container garden or a houseplant collection.
Troubleshooting the Common Problems
| Problem | Cause | Fix |
|---|---|---|
| Bad smell | Overfeeding or too wet/airless (FAQ) | Stop feeding a week or two; add dry bedding; improve drainage and airflow |
| Fruit flies | Exposed scraps on the surface | Bury food under bedding; add a cardboard layer on top; feed less |
| Worms trying to escape | Conditions off — too wet, too acidic, or too hot | Check moisture, reduce acidic foods, move out of temperature extremes |
| Bin too wet / liquid pooling | Watery scraps, poor drainage | Add dry bedding, ensure drainage holes are clear, feed drier material |
| Slow processing | Cold, few worms, or large food pieces | Warm it up, let numbers grow, chop food smaller |
| Other creatures appear | Some (mites, springtails) are normal decomposers | Usually harmless bin-mates; only act if a genuine pest population explodes |
Notice the pattern: nearly every problem traces back to overfeeding or excess moisture, and nearly every fix is "feed less, add dry bedding, improve air." Master that one balance and the bin runs itself.
Why Worm Castings Beat Ordinary Compost
It's worth understanding what makes vermicompost special, because it explains why gardeners prize it so highly. As organic matter passes through a worm's gut, it's broken down, inoculated with beneficial microbes, and transformed into a finely structured material richer in readily available nutrients than the raw scraps — and than ordinary heap compost. The castings hold moisture well, improve soil structure, are teeming with the soil biology that healthy plants depend on (the living-soil principle the soil guides keep returning to), and release their nutrients gently rather than in a burn-risk rush. This is why a modest amount of castings does the work of a larger amount of ordinary compost, why it's ideal as a concentrated booster mixed into potting mixes and planting holes, and why it suits delicate seedlings and houseplants that synthetic feeds would scorch. Worm composting doesn't just recycle waste — it upgrades it into something better than either the scraps or a garden heap could produce.
A Bin for Learning: Worms and Children
Few garden projects fascinate children like a worm bin, and it's one of the best teaching tools a household can have. A clear-sided bin (or a section of one) lets kids watch decomposition happen — scraps disappearing, worms tunnelling, castings forming — turning abstract ideas about recycling, soil, and the cycle of life into something visible and hands-on. The care tasks are child-friendly (feeding, checking moisture, eventually harvesting), the worms are hardy enough to survive enthusiastic attention, and the payoff — real plant food for the garden or windowsill — closes the loop in a way a child can understand and own. It sits alongside the bird box and the raised bed as one of the site's genuine child-recruitment projects: a bit of biology, a bit of responsibility, and a tangible result. Many schools run wormeries for exactly these reasons, and a home bin brings the same lesson to the kitchen counter.
Worms in Winter and Over Holidays
- Cold slows them: worms go quiet and eat less in cold weather, so feed less and protect the bin from freezing — move it somewhere sheltered, insulate it, or bring it into a cool indoor spot.
- Heat is the bigger danger: a bin baking in summer sun can overheat and kill the colony — keep it shaded and cool.
- Holidays are easy: a worm bin is the lowest-maintenance pet imaginable — a good feed before you leave carries it through a normal holiday with no attention at all, since worms happily work through a backlog and slow down when food runs low.
- The population self-regulates: worm numbers rise and fall to match the food supply, so a bin is forgiving of irregular feeding — a genuine advantage over a garden heap.
Choosing or Building Your Bin
| Bin type | Best for | Note |
|---|---|---|
| Stacking tray system (bought) | Easiest harvesting, tidy indoor use | Worms migrate up into fresh trays; lift off finished bottom tray — the low-effort premium option |
| DIY plastic box | Cheap first bin, testing the waters | Drill drainage holes in base and air holes near top; stand on a drip tray; works perfectly well |
| Stacked-bucket DIY | Small spaces, minimal cost | Two nested buckets — holes in the inner one, the outer catching liquid; the thrifty classic |
| Continuous-flow bin | Larger, ongoing production | Harvest from the bottom while feeding the top; a step up for the committed |
| Outdoor wormery | Gardens in mild climates | Larger capacity; needs protection from temperature extremes and predators |
For a first bin, the DIY plastic box costs almost nothing and teaches you the ropes; if you take to it, a stacking tray system makes the ongoing running and harvesting genuinely effortless. Either way, the requirements are the same handful — drainage, ventilation, moist bedding, the right worms, and shelter from extreme heat and cold — and the bin does the rest. Don't over-invest before you've confirmed you enjoy it; the cardboard-and-a-box version proves the concept for the price of nothing.
The Bottom Line
A worm bin is composting made possible for everyone — no garden, no heap, no turning, no smell when run right — and it produces the best plant food you can make from waste you're throwing away anyway. Set up a ventilated, drained bin with moist bedding and the right composting worms, feed moderately and bury the scraps, and let the colony turn your peelings into rich castings and liquid feed. Harvest with the gentle migration or tray methods, use the black gold on everything from seedlings to houseplants, and remember that almost every problem is just "feed less, add dry bedding, improve air." Give a corner to a box of worms, and your kitchen scraps become the richest thing in your garden — or on your balcony.

Comments
No comments yet. Be the first to share your experience.